
[React] Firebase 인증 및 백엔드 데이터 관리
리액트 인터뷰 가이드의 11장을 참고하여 작성하였다.
리액트, 리덕스, styled-components, 파이어베이스 백엔드를 기반으로 한 전자기기를 구매할 수 있는 전자상거래 애플리케이션 One Stop Electronics를 구축하고자 한다.
이 애플리케이션은 리액트를 사용하여 프론트엔드를 구현하며, Firebase를 활용하여 백엔드 인증 및 데이터 관리를 처리한다.
리액트의 강력한 컴포넌트 기반 아키텍처와 Firebase의 인증 기능을 통해 프로그래밍의 복잡성을 줄이고, 효율적인 사용자 인증 및 데이터 관리를 실현할 수 있다.
🔒 Firebase 인증: 가입, 로그인, 로그아웃 구현
Firebase Authentication을 활용하여 사용자의 로그인, 가입, 로그아웃 기능을 구현한다. firebase/auth 패키지를 사용하여 이메일 및 비밀번호 로그인, 구글 로그인 등을 처리할 수 있다.
🔑 Firebase 인증 API 설정
먼저 Firebase 앱 인스턴스를 생성하고, 인증 메서드를 가져온다.
import { firebaseApp } from "@/backend/firebase/config";
import {
  signInWithEmailAndPassword,
  signInWithPopup,
  signInWithRedirect,
  GoogleAuthProvider,
  createUserWithEmailAndPassword,
  updateProfile,
  signOut,
  getAuth,
  onAuthStateChanged,
  NextOrObserver,
  User,
} from "firebase/auth";

const auth = getAuth(firebaseApp);
const googleProvider = new GoogleAuthProvider();
googleProvider.setCustomParameters({
  prompt: "select_account",
});
🔄 인증 메서드 구현
이메일과 비밀번호를 사용한 로그인, 구글 로그인을 위한 메서드, 사용자 가입, 로그아웃 메서드를 구현한다.
로그인
이메일과 비밀번호를 사용하여 사용자를 로그인시키는 메서드이다.
export const signInEmailAndPassword = async (
  email: string,
  password: string
) => {
  if (!email || !password) return;
  return await signInWithEmailAndPassword(auth, email, password);
};
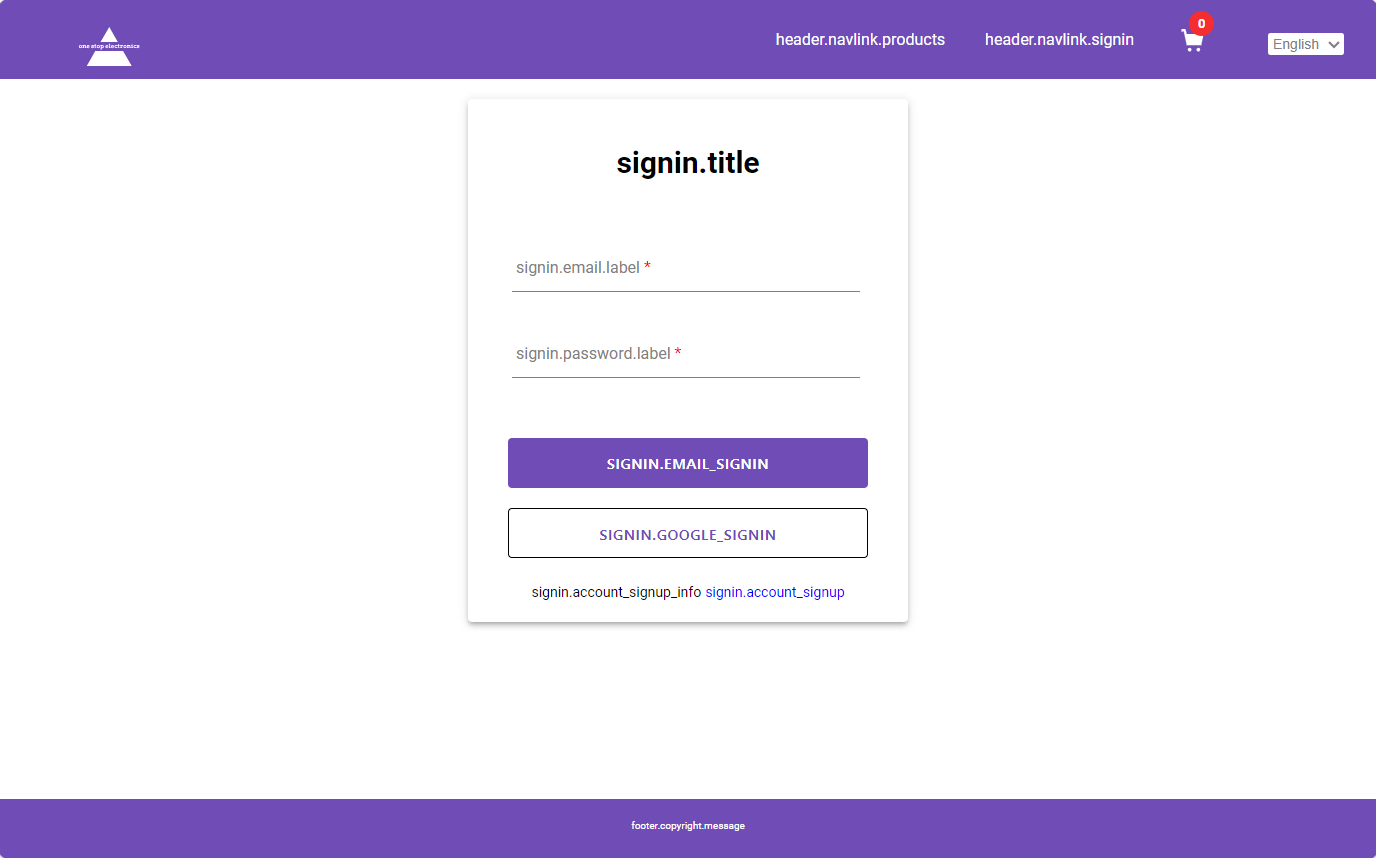
위의 로그인 화면에서 이메일과 비밀번호를 입력하여 로그인할 수 있다.
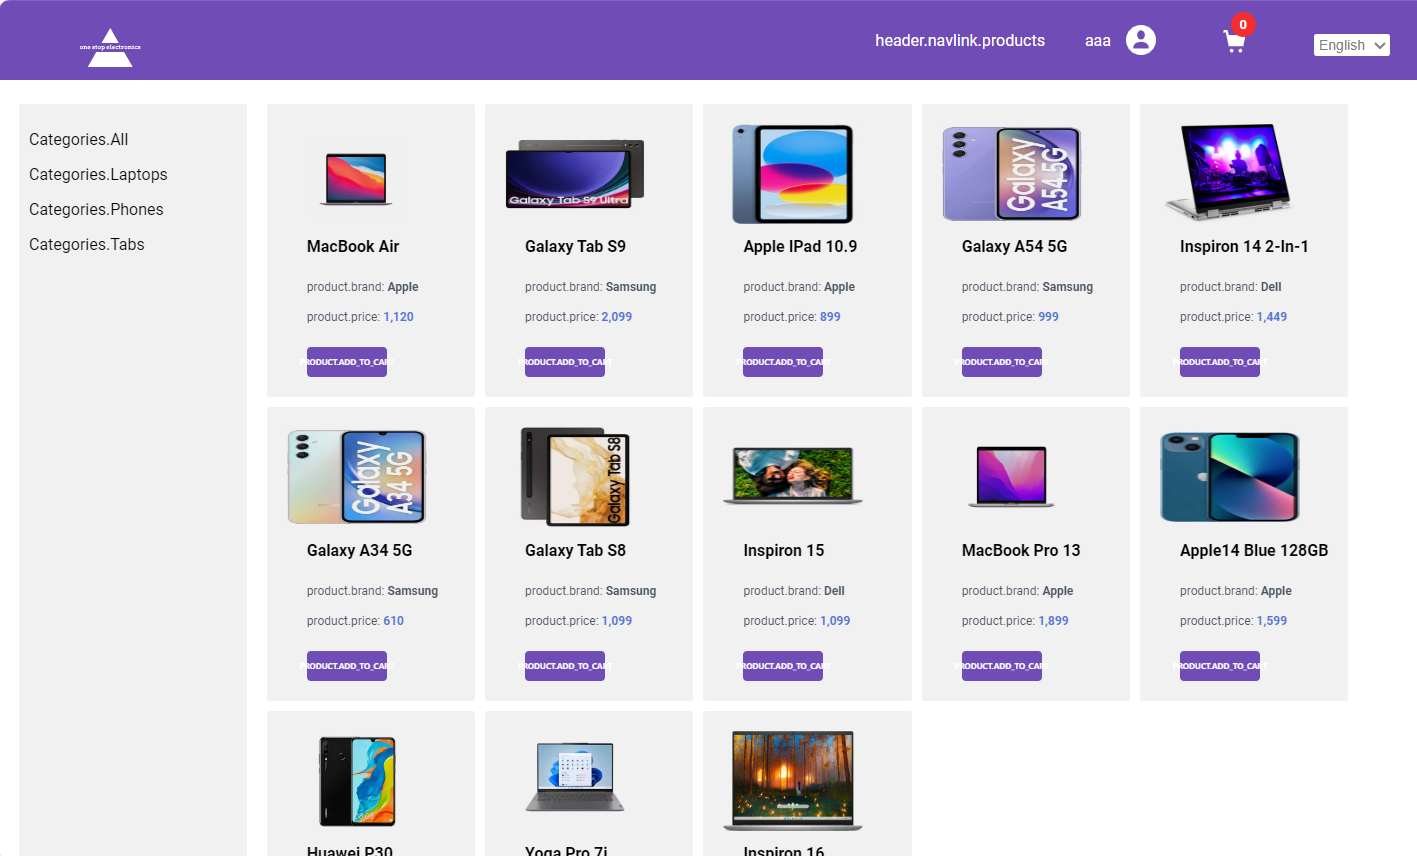
로그인에 성공하면 사용자 이름이 화면에 표시된다. 이는 사용자가 성공적으로 로그인했음을 시각적으로 확인할 수 있다.
구글 로그인
구글 로그인을 위한 두 가지 방식의 메서드이다.
- 팝업 방식 (
signInWithPopup): 로그인 시 새 팝업 창이 열리고, 사용자는 팝업에서 계정을 선택하여 인증을 완료한다. 팝업이 닫히면 로그인 정보가 애플리케이션으로 전달되며, 페이지는 변경되지 않는다. - 리다이렉트 방식 (
signInWithRedirect): 로그인 시 페이지가 Google 로그인 화면으로 리다이렉트된다. 인증 후 원래 페이지로 돌아와 로그인 정보가 전달된다.
export const signInGooglePopup = () => signInWithPopup(auth, googleProvider);
export const signInGoogleRedirect = () =>
  signInWithRedirect(auth, googleProvider);
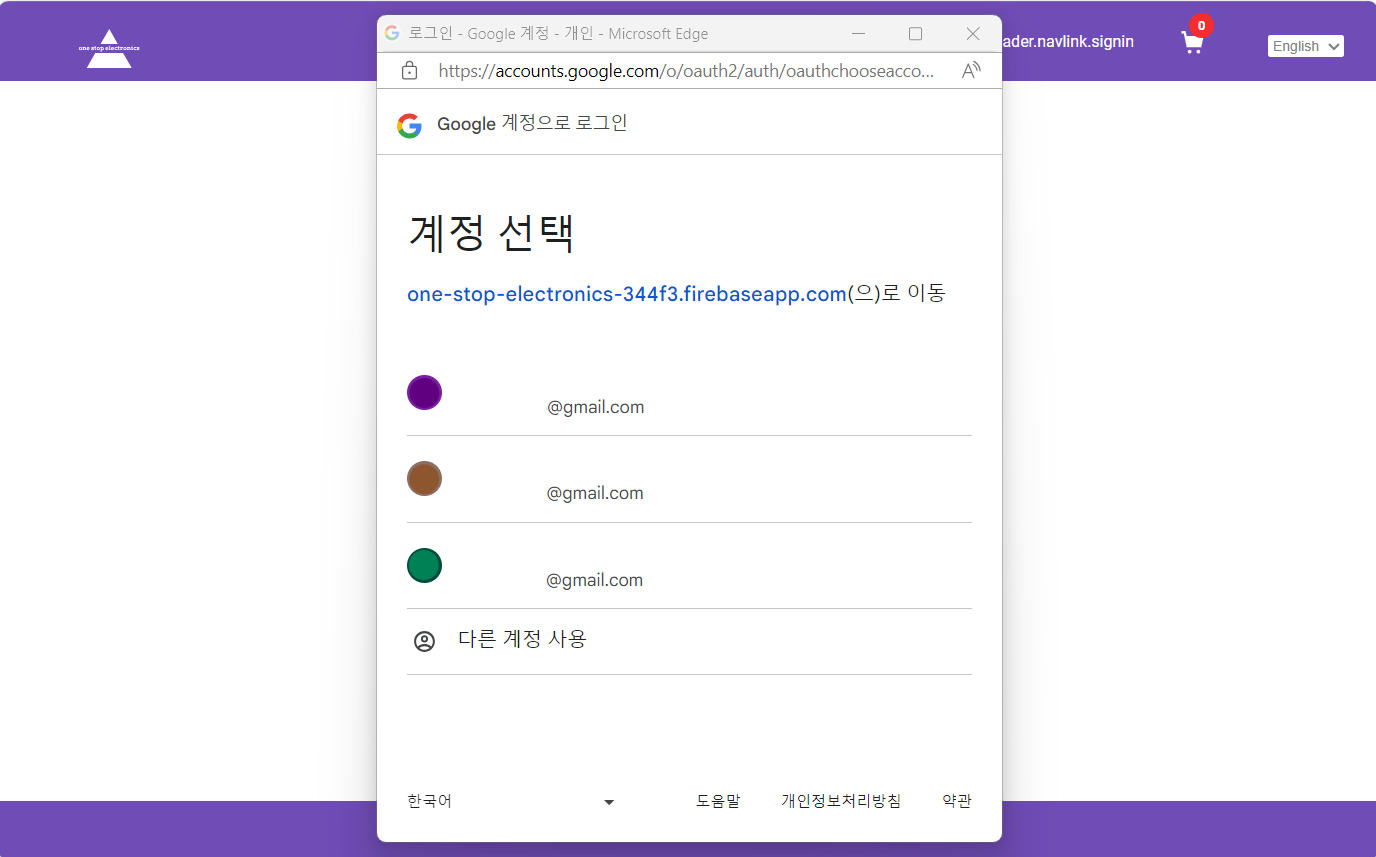
현재 signInGooglePopup을 호출하여 팝업 방식으로 로그인 창이 뜨도록 하였다.
사용자 가입
이메일과 비밀번호를 사용한 사용자 가입 메서드이다.
export const signUpEmailAndPassword = async (
  displayName: string,
  email: string,
  password: string
): Promise<User> => {
  const userInfo = await createUserWithEmailAndPassword(auth, email, password);
  await updateProfile(userInfo.user, { displayName });
  return userInfo.user;
};
로그아웃
로그아웃 메서드이다.
export const signOutUser = async () => await signOut(auth);
🔔 상태 변경 감지
사용자의 인증 상태 변경을 감지하고, 애플리케이션 내의 현재 사용자 정보를 업데이트하기 위해 다음 메서드를 사용한다.
export const onAuthStateChangedListener = (callback: NextOrObserver<User>) =>
  onAuthStateChanged(auth, callback);
📊 Cloud Firestore를 통한 데이터 관리
Cloud Firestore는 전통적인 SQL 데이터베이스와 달리 데이터를 도큐먼트(document) 형태로 저장하며, 도큐먼트는 컬렉션(collection)으로 구성된다.
📂 Firestore 설정
Firestore 패키지에서 필요한 함수를 가져와서 Firestore 데이터베이스 인스턴스를 생성한다.
import {
  getFirestore,
  doc,
  setDoc,
  collection,
  writeBatch,
  query,
  getDocs,
} from "firebase/firestore";
import { Product } from "@/app/store/product/product.types";

export const db = getFirestore();
getFirestore는 Firestore 데이터베이스 인스턴스를 생성하는 함수로, 이 데이터베이스에서 컬렉션과 도큐먼트를 관리한다.
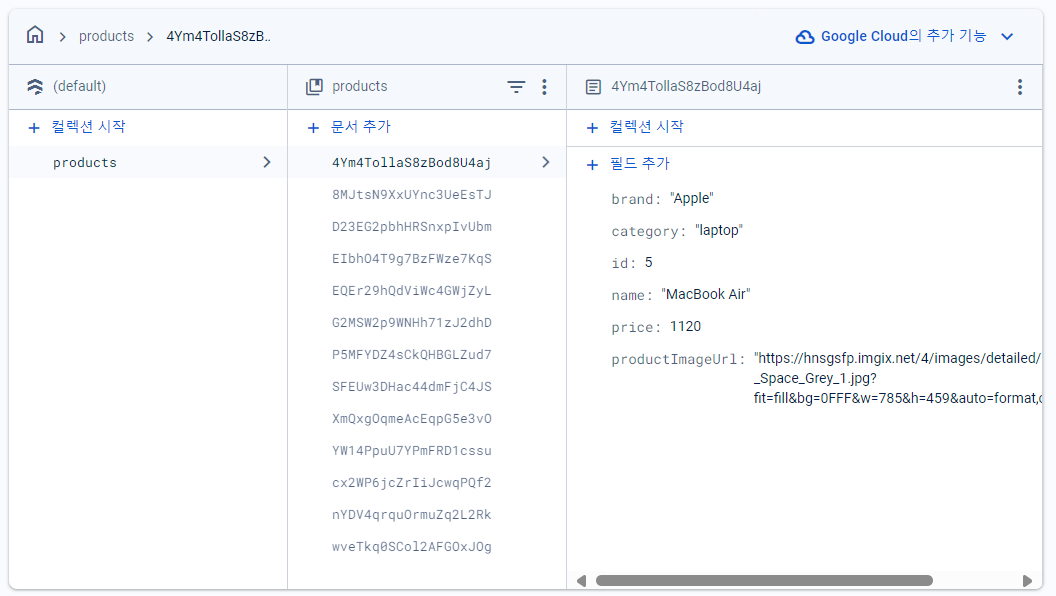
위 사진은 Firestore 콘솔에서 ‘products’ 컬렉션의 데이터 구조이다. Firestore는 컬렉션과 도큐먼트로 데이터를 구성하며, 이 구조를 통해 각 제품의 세부 정보를 쉽게 추가하고 조회할 수 있다.
📝 제품 데이터 삽입
제품 데이터를 Firestore에 삽입하기 위해, 데이터베이스 인스턴스와 컬렉션 참조를 생성하고, 배치 작업을 통해 여러 제품 데이터를 한 번에 삽입한다. 각 제품에 대해 도큐먼트 참조를 생성하고, 배치 작업을 커밋하여 레코드를 동시에 삽입한다.
export const insertProductsData = async <T extends Product>(
  collectionKey: string,
  productItems: T[]
) => {
  const collectionRef = collection(db, collectionKey);
  const batch = writeBatch(db);

  productItems.forEach((product) => {
    const docRef = doc(collectionRef);
    batch.set(docRef, product);
  });

  await batch.commit();
};
🔍 제품 데이터 조회
제품 데이터를 조회하기 위해, 제품 컬렉션 참조를 생성하고 쿼리 참조를 사용하여 모든 도큐먼트를 가져온다. 쿼리 스냅숏을 순회하여 결과를 반환한다.
export const fetchProductsData = async () => {
  const collectionRef = collection(db, "products");
  const queryRef = query(collectionRef);
  const querySnapshot = await getDocs(queryRef);

  return querySnapshot.docs.map((docSnapshot) => docSnapshot.data());
};
Firebase 인증과 Cloud Firestore 작업을 통해 사용자 인증과 데이터 관리 기능을 구축하였다. 이를 활용하여 애플리케이션의 백엔드 작업을 효율적으로 처리할 수 있다.
🔗 구매 링크
Leave a comment